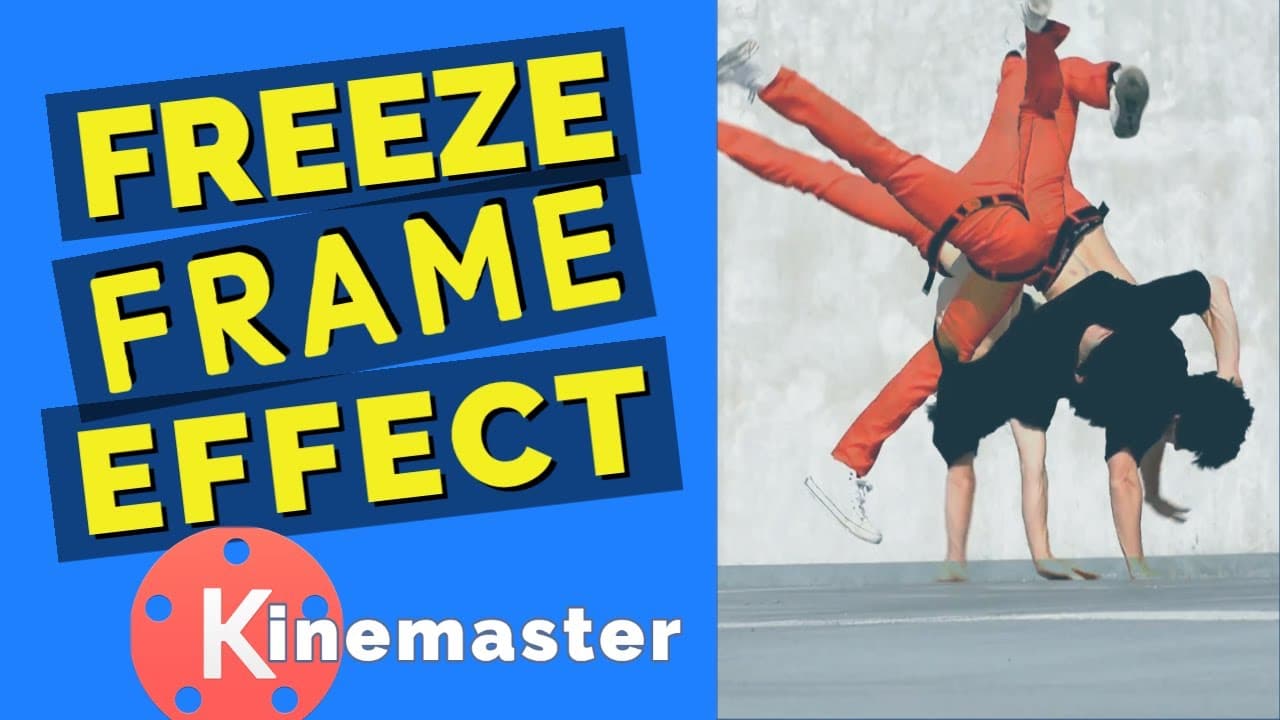
This is a short tutorial and I created a walk around video on YouTube. The freeze frame effect is used by many to create an effect where the moving objects in a video leave a frozen frame tail. Kinemaster is a smartphone video editing app and following some simple steps using video layers in Kinemaster you can easily achieve freeze-frame effect. This tutorial is created using the Kinemaster Pro app on android since we need support for video layers to achieve this effect. Kinemaster has powerful video editing tools to produce top quality video for professional or personal use.
How to download?
Get Kinemaster from
For Android: https://play.google.com/store/apps/details?id=com.nexstreaming.app.kinemasterfree
For iOS: https://appstore.com/nexstreamingusainc/kinemaster
Steps to create Freeze Frame effect
The steps can be followed by anyone with a basic knowledge of video editing with Kinemaster. The same effect can also be created using other apps in a similar fashion.
1. Create a project and bring your desired video footage to the timeline.
2. Play the video footage to find some frames to freeze.
3. Take the cursor the desired frame and take a snapshot of the frame and add as a layer (Capture frame and add as a layer option)
4. Select the layer, go to Split screen and select full screen.
5. Adjust the duration of the layer and bring the opacity down to 0%.
6. Take the cursor to the desired frame in the video layer and repeat the process as in steps 3 and 5.
7. Once you have created the desired number of “freeze frame” layers, as above, bring up the opacity of each layer back to 100%.
8. Go to each image layers and change the blending mode to “Darken”
9. Your video is ready with the Freeze Frame Effect.
My video walkthrough
Here is my YouTube video for a screen recording of the entire process:
I hope this short tutorial will be useful for you.